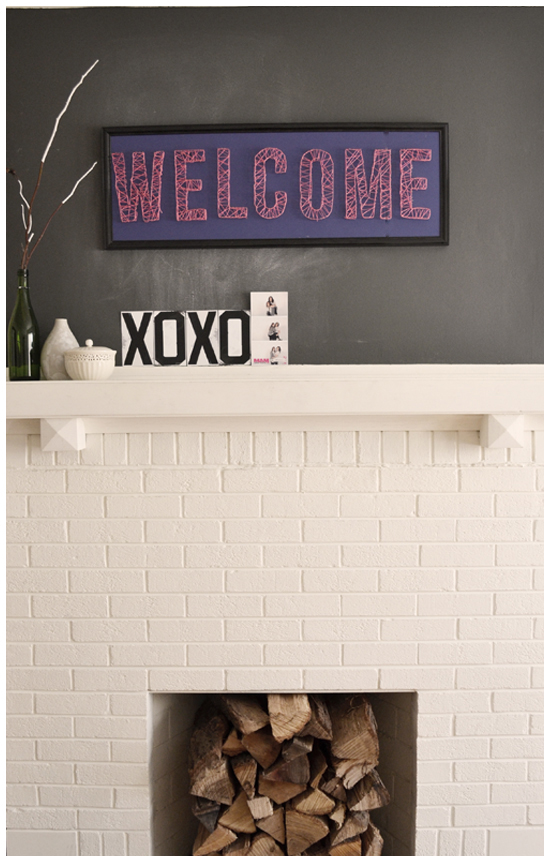
String Art: In the 70’s it was mega-bright string banded around nails set in dark velvet to form mushrooms, owls, and other totally groovy designs. Today it’s a fairly simply DIY project that I’ve had a serious design project crush on ever since I saw this heart design.
Call me lazy (in my defense it was 8 am on a Saturday and I was out of Kcups), but there was no way I was going to go search for a piece of wood, figure out a place that would cut the thing to size, stain it, and then impatiently wait for it to dry. With my design ADD, it most likely would only be hanging for 3 months, max.
After searching the house for a possible alternative, I gave the below a whirl:
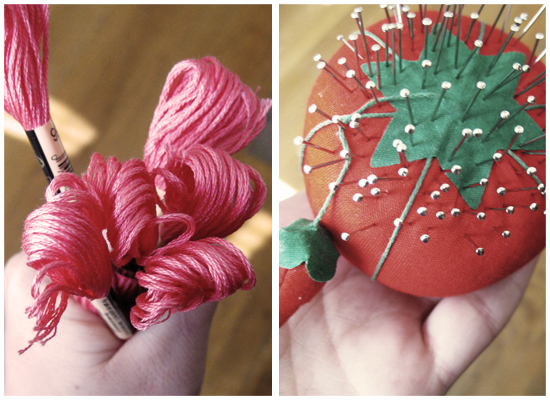
Materials:
-Embroidery thread (I used one group of thread for every letter)
-Straight dressmaking pins (I used approx. 200)
-An old frame you don’t use anymore with the mat removed so it’s just the glass, frame, and backing (Mine was one of those matted for 5-5×7 pictures)
-Cut-to-size foam board approx. 1/4 in. thick

Make it:
-Take apart the frame you’re using and cut the foam board to the same size as the glass part
-Put the frame back together substituting the foam board for the glass and getting rid of the mat (if there is one)
–Download the Bebas Neue font I used or pick your own (remember thick fonts work the best) and design your wording or image
-Print on normal printer paper
-Cut out design and arrange on foam board
-Outline letter with pins, placing approx. 1/4 in. apart
-Remove your stencil
-Tie a knot around one of the pins with your embroidery thread and crisscross back and forth across and around the all the pins until you’ve achieved the desired look!

Tada! Enjoy!!
